Learning About AWS Security Groups - 90 Days of DevOps Challenge

My academic journey is primarily driven by my passion for DevOps knowledge.
Today, we’re going to explore the role of security groups in AWS. Before diving into creating a security group in our AWS account, let’s first understand some theory.
According to the official AWS documentation, a security group acts as a virtual firewall that controls the inbound and outbound traffic for your EC2 instances. Think of it like a security guard that only allows access to authorized people listed on a guest list (firewall rules).
Setting Up Your EC2 Instance
Login to AWS Management Console
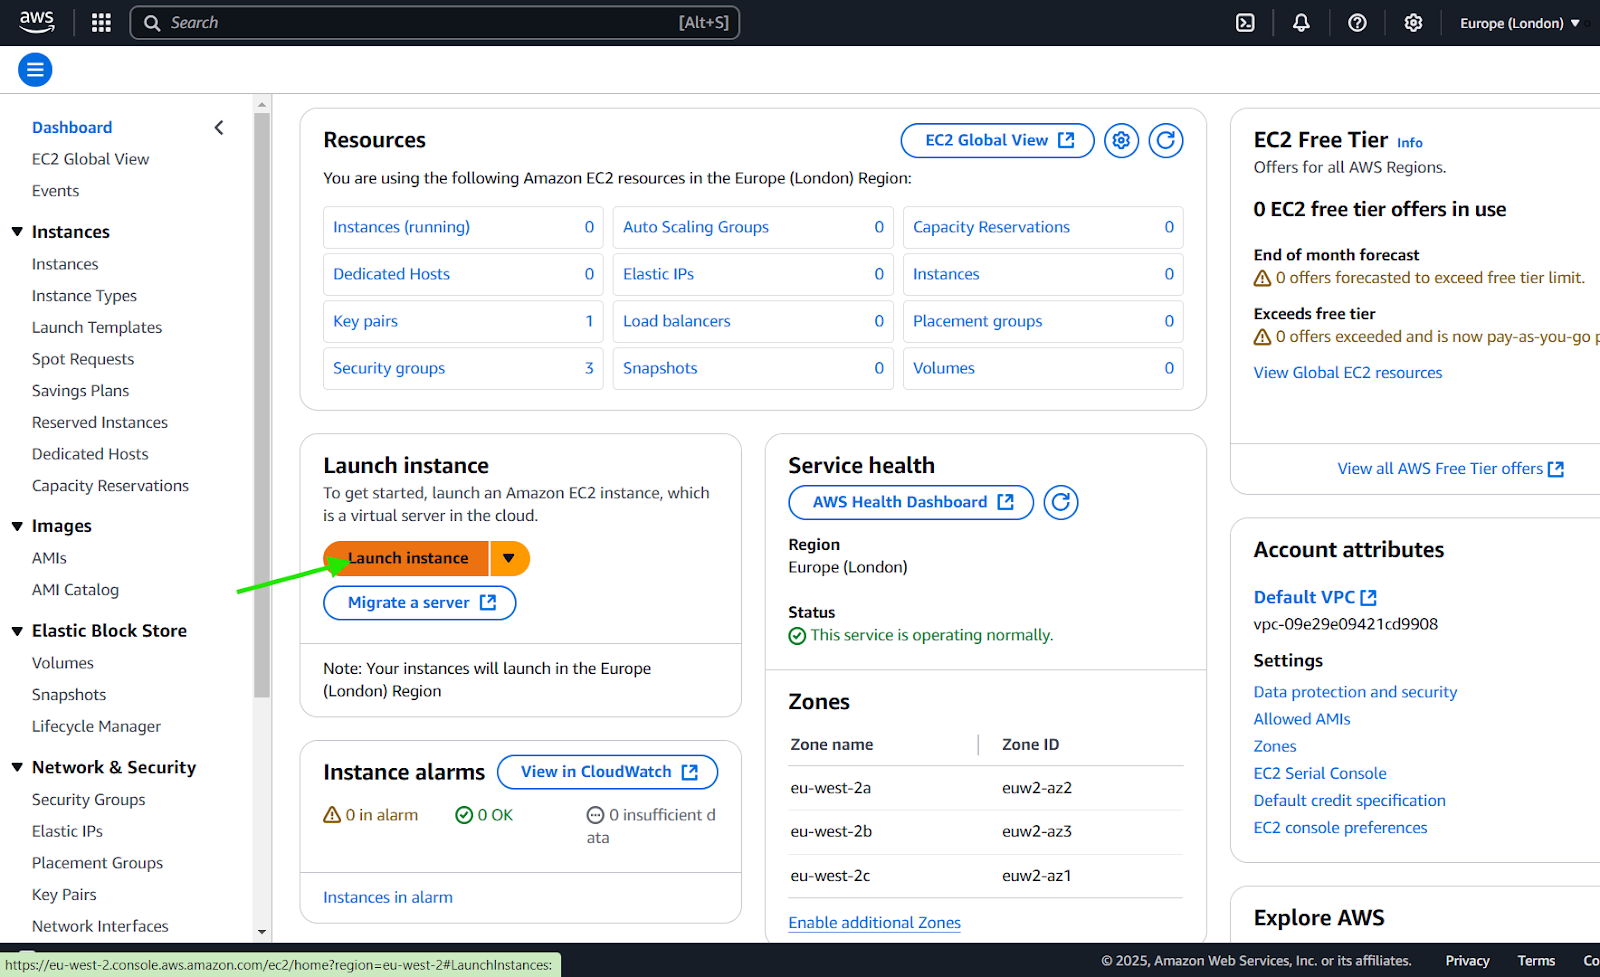
After creating your AWS free-tier account, log in to the AWS Management Console. Search for EC2 in the search bar and click on it.Launching an Instance
You’ll see the EC2 management console. Click the Launch Instance button to create an EC2 server on aws.Instance Configuration
Instance Name: Give any name to your server. For example, I named mine devopsnerd_testing server.
AMI (Amazon Machine Image): Select an Amazon Linux AMI.
AMI: It’s like a bootable file (similar to a bootable flash drive used to install an operating system on your PC/laptop). It contains the OS image file.
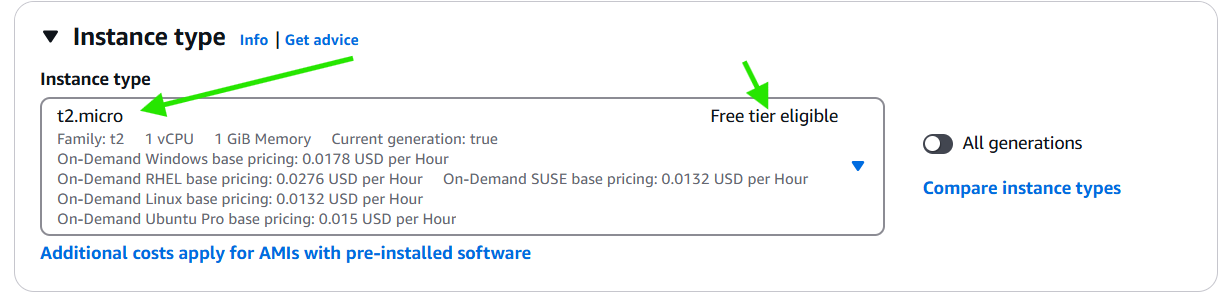
Instance Type: Choose t2.micro (free-tier eligible) to save costs while experimenting.
Key Pair: Create a key pair. This will be needed later if you want to connect to your EC2 server using an SSH client.


Security Groups: The Core Concept (Attentive Section)
In the Network Settings section, you’ll notice that a security group is created by default (e.g., named launch-wizard-3). Let’s focus on its key settings:

Allow SSH Traffic from Anywhere
- The first checkbox is checked by default. It allows SSH traffic (port 22) from anywhere on the internet. SSH operates on port 22, and this setting ensures you can remotely connect to your instance.
Allow HTTPS Traffic
- This checkbox is unchecked by default. It blocks HTTPS traffic (port 443) from the internet unless you enable it.
Allow HTTP Traffic
- This checkbox is also unchecked by default. It blocks HTTP traffic (port 80), meaning any incoming HTTP requests to the instance will be denied.
If you plan to host a website, you need to enable both HTTP (port 80) and HTTPS (port 443) traffic so your server can receive requests from the internet.
Finalizing the Instance Setup
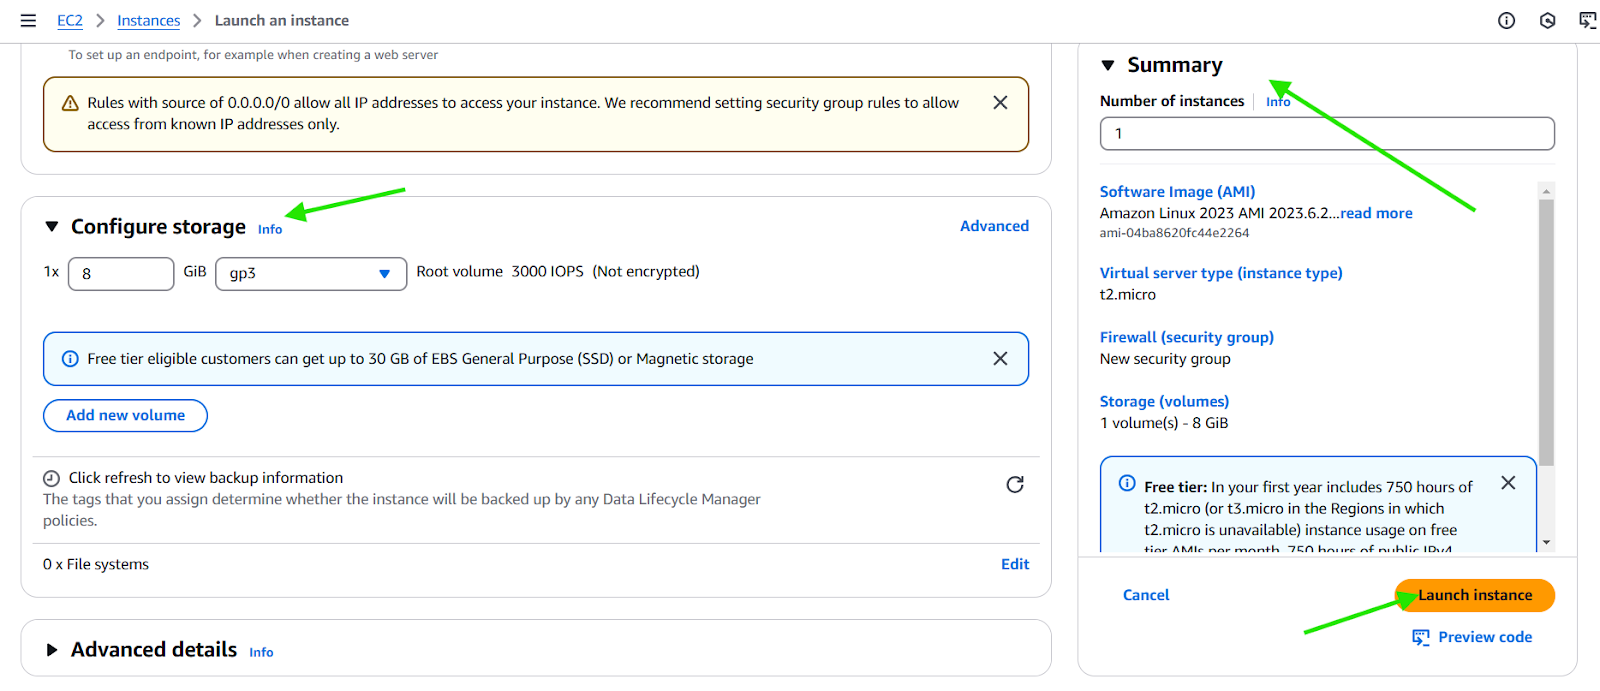
Keep the default storage (8GB), which is sufficient for this lab.
Review the summary of your instance configuration. Then, click on the Launch Instance button.
Connecting to Your Instance
Retrieve the Public IP
Once the instance is running, select it in the EC2 console and copy its public IP address.Connect Using an SSH Client
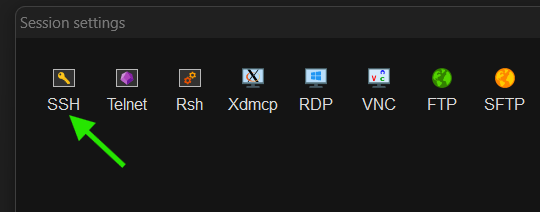
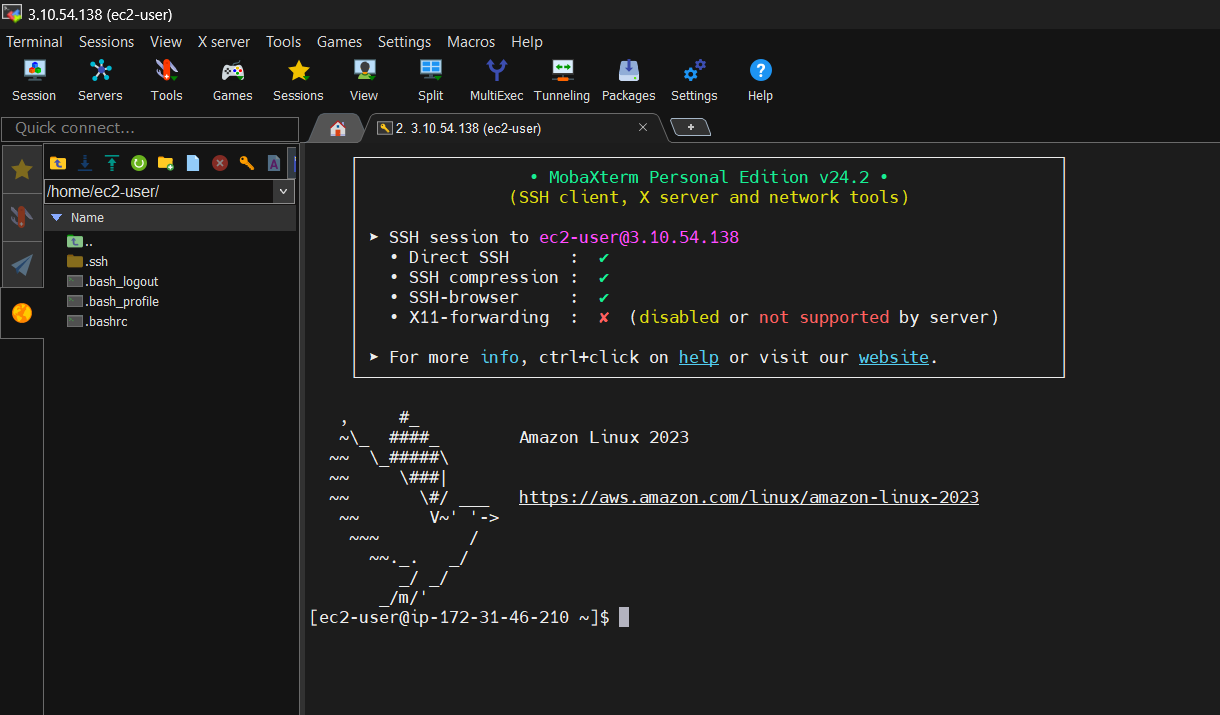
I am using MobaXterm to connect to my AWS EC2 instance:Open Sessions > Select SSH.
Paste the public IP address of your instance and set the username as
ec2-user.Under Advanced SSH Settings, check the Use Private Key box and provide the path to the key file generated earlier.
Click OK to connect.


Congratulations! You are now connected to your AWS EC2 instance (virtual server).
Testing the Security Group Configuration
You might wonder, why were we able to connect via SSH?
This happened because, during the instance creation, we enabled SSH access in the security group settings.
Now, let’s test HTTP access:
Copy your EC2 instance's public IP address.
Paste it into your browser and check.

Oops! You won’t be able to access the instance using HTTP. Why?
Because the security group’s firewall is blocking traffic on port 80. This practical example illustrates how security groups control access to your instance.
Wrapping Up (Read it or Regret it)
Finally, go back to the AWS Management Console and terminate your EC2 instance. Unless you’re a billionaire who doesn’t care about money, this is an essential step to avoid unnecessary charges.

Real-World Scenarios for Better Understanding
Here are some practical situations where security groups play a crucial role:
Hosting a Website
Imagine you’re building a portfolio website and hosting it on an EC2 instance.
You’ll need to open port 80 for HTTP traffic so users can access your site and port 443 for HTTPS to secure the connection. If these ports are blocked in the security group, your site will not be accessible.
Securing Remote Access
- If you’re running an EC2 instance for development, you might allow SSH access (port 22) only from your home IP address. This ensures unauthorized users cannot connect to your instance even if they know your public IP.
By understanding these scenarios, you’ll be able to easily crack the real world mechanism of security group (how they work).
Follow me if you want such articles filled with real world examples and practicals to understand the cloud and devops concepts easily.


